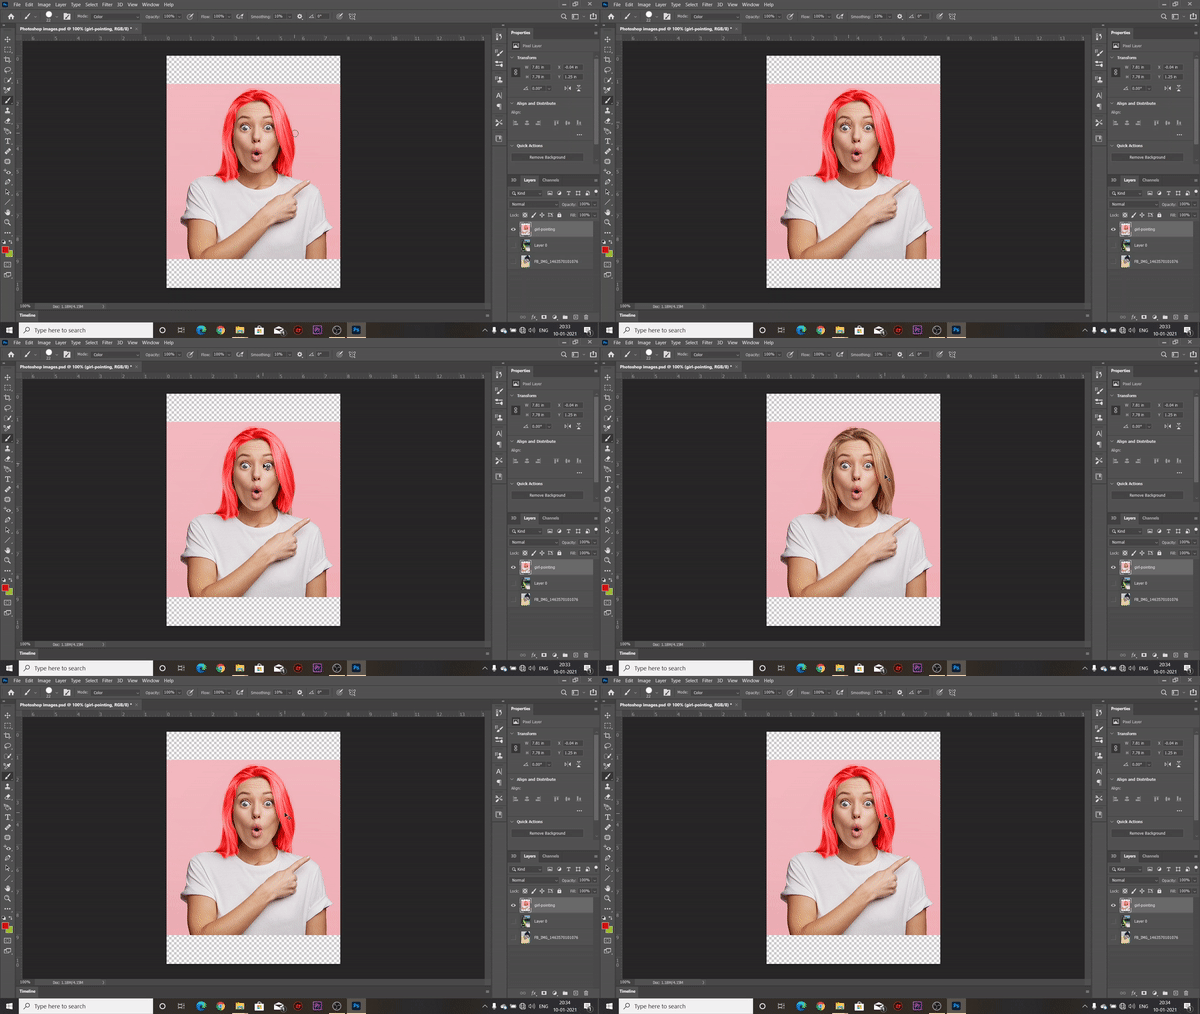
We will explain you easily on How To Change Color Of Shirt from White To Black or any dark color. If we want to change a White color to Dark color/Black color we have to switch the Blend mode of the layer from normal to Multiply. Let’s start from first step, first we need to Unlock the Layer we are working on, after that duplicate the Layer by pressing Ctrl+J. So that we can still go back to our original image if any unexpected edit occurs where we cannot go back and Undo everything. Next, we need to create a selection using any selection tool like Pen tool or any tool you want , but we are using Quick Selection Tool to select the dress of the girl and then click on Create Layer Mask button as shown in the video.
We see that our layer mask is created and now we can only see the dress. Next, we have to Create an Adjustment Layer called Solid color and pick the color of your liking & choose Blending Mode from Normal ->Multiply. This basically what is does is that the color you select darkens the White color to that color and changes the color to the selected color. Now one more thing to remember, is that When you are changing Lighter color dress to Dark color you should use Curves to adjust the Shadows & Highlights of the image which will make the image look more natural. You have to make lighter color/Highlights to brighter and Darker color/Shadows to more darker.
The opposite is true when you are changing one Lighter color to another Lighter color because the color is already bright. So you don’t need to use 2 Curves layer, you need to create a single Curves Layer and adjust the bright and the dark areas in an opposite way, so that your image look natural.
So continuing from the previous para on How To Change Color Of Shirt, you selected a Dark color/Black color for the dress. Next, you Create A Clipping Mask it as shown in the video. After that you change the blend mode from Normal->Multiply. When you select Black , like if you select 100% or Totally black then you can see the color of the dress is not OK. It’s doesn’t look Natural. Here I want to add that there is No color which is fully Black , as Fully Black simply means there is Zero Data on the image and therefore it’s just showing only Plain Black color. The color which you should pick is Grey color which does look like a Black Dress.
Next, you should Create another curves layer on top of the first Curves Layer and then GoTo->Blending Options and move the slider of Shadows & Highlights to the right and then detach the right part by pressing Alt & Mouse Left Click and detach slider and drag it to the right side, until you see that Shadows and Highlights are properly showing on the image layer. Now , in the video we can see that Black color is properly naturally blended into the dress color.
Similarly, we can create designs of other colors like Jet Yellow, Jet Green, Jet Blue & Jet Red. For all these colors we should hide the curves layer and create a new Curves layer and adjust the brightness and contrast of the image in an opposite way. If we want to create Dark Green or Dark Red you can use those Curves layers which were created for the Black color. For better understanding here are the files :- Photoshop PSD File , Red, Yellow, Black, Green, Blue.


